Embarking on your first drywall project can feel overwhelming, but with the right guidance, you can confidently complete a professional-looking installation. Our Step-by-Step Guide to Drywall Installation for Beginners will walk you through every phase, from preparation to finishing, ensuring a smooth process and exceptional results.
What You’ll Need: Best Tools for Drywall Installation
Before you start your DIY drywall installation, gathering the right tools is crucial for an efficient and successful job. Here’s what you’ll need:
- Drywall sheets
- Utility knife
- Drywall saw
- Drywall screws
- Screw gun or drill
- Measuring tape
- T-square
- Joint tape
- Joint compound (mud)
- Sanding block or drywall sander
- Safety glasses and gloves
Using the best tools for drywall installation will not only speed up your project but also ensure accuracy and safety.
Drywall Installation Process: A Clear Overview for Beginners
Understanding the drywall installation process is essential before you begin hanging sheets. Whether you’re doing a basic drywall installation or tackling your first renovation, having a plan in place will prevent mistakes and delays. The steps to drywall installation typically include:
- Measuring your space and calculating materials.
- Cutting drywall sheets to size.
- Securing drywall to studs or joists with screws.
- Applying joint tape and joint compound.
- Sanding and finishing the surface.
This drywall installation guide ensures that each phase of your project is clearly defined and executed correctly. For those wondering how to drywall efficiently, consistency, patience, and proper alignment are key.
If you’re looking to learn how to install drywall from scratch, this structured method also works for sheetrock installation, which follows virtually the same steps. For enhanced results, follow a drywall installation diagram to visualize positioning before cutting and attaching.
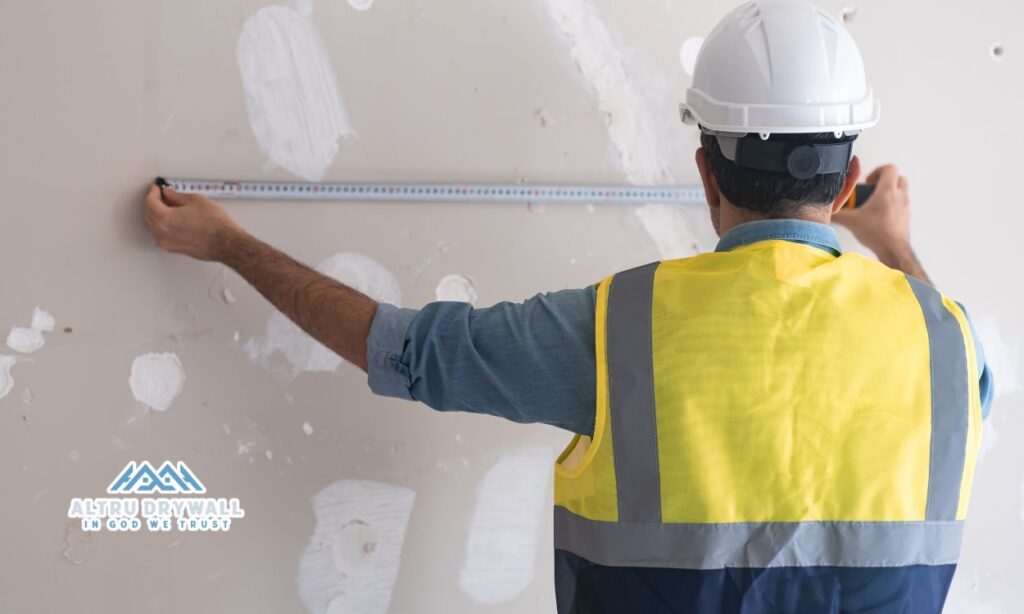
Planning Your Drywall Project
Good planning prevents costly mistakes. Before installing drywall, carefully measure the areas to determine how many drywall sheets you’ll need. Standard drywall sheets are typically 4’x8′. Keep extra sheets handy for cuts and mistakes.
Common Drywall Mistakes to Avoid (and How to Fix Them)
Even the most thorough step-by-step drywall installation can go sideways if you’re not aware of typical beginner pitfalls. Here are some drywall mistakes to watch out for:
- Overdriving screws: This breaks the paper surface and weakens the hold.
- Misaligned seams: Always place seams on studs and stagger them between rows.
- Improper mudding: Avoid applying too much joint compound at once—it’s better to build in layers.
- Skipping sanding: A rough finish ruins the look of even the best drywall installation steps.
By knowing how to put up drywall correctly, you avoid these errors early on. Whether you’re looking up drywalling for beginners, following a drywall tutorial, or simply interested in how drywall is installed, understanding these details improves results and reduces costs.
And if you’re still unsure about your technique, calling in professionals for help or a consultation can save you frustration and time—especially if you’re concerned about the best drywall mud for beginners or handling specialized rooms.
Drywall Cutting Techniques: Measure and Cut Properly
Accurate measuring and cutting are key components of professional drywall installation. Use a T-square and utility knife to score the paper surface, then snap the drywall along the scored line. Finish by cutting through the backing paper. For smaller, intricate cuts, a drywall saw provides more control.
How to Install Drywall: Step-by-Step Drywall Guide
Step 1: Prepare the Wall
Ensure the wall studs or ceiling joists are clean, aligned, and properly spaced. Typical spacing is 16 inches apart, center-to-center.
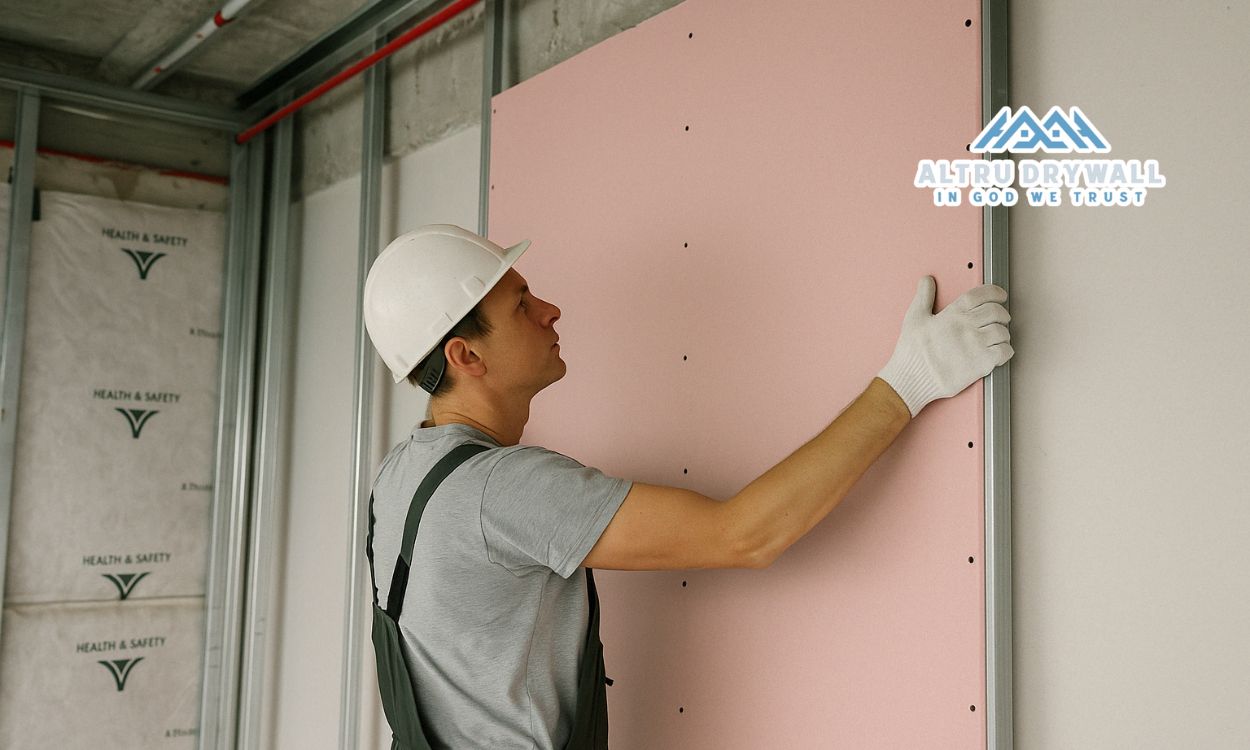
Step 2: Hang the Drywall
Start at the corner or ceiling, positioning the drywall horizontally to minimize seams. Lift the drywall sheet and press it firmly against the studs. Having assistance during this step makes installation easier.
Step 3: How to Screw Drywall Properly
Use a screw gun or drill to secure drywall screws every 12 inches along studs and every 8 inches along edges. Screws should slightly indent the drywall surface without breaking the paper.
Step 4: Ceiling vs. Wall Drywall Installation
When installing drywall on ceilings, always begin there before moving to the walls. This method helps maintain a tight seam between wall and ceiling drywall sheets.
Drywall Hanging Tips for Beginners
- Always stagger seams to strengthen wall structure.
- Minimize cuts and seams by using full-length sheets whenever possible.
- Ensure drywall sheets end at the center of studs for stable attachment.
Beginner Drywall Mistakes to Avoid
- Over-tightening screws, which can break the drywall surface.
- Leaving gaps too wide between drywall sheets.
- Ignoring proper stud alignment, leading to uneven surfaces.
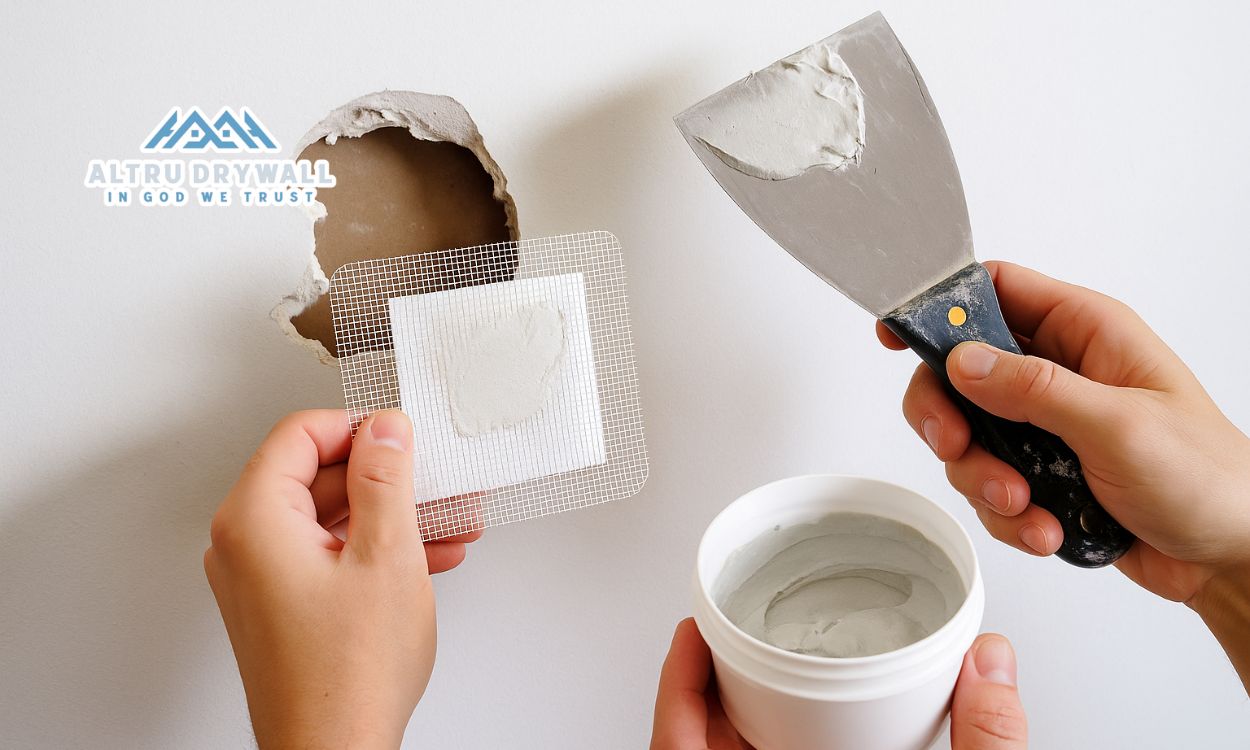
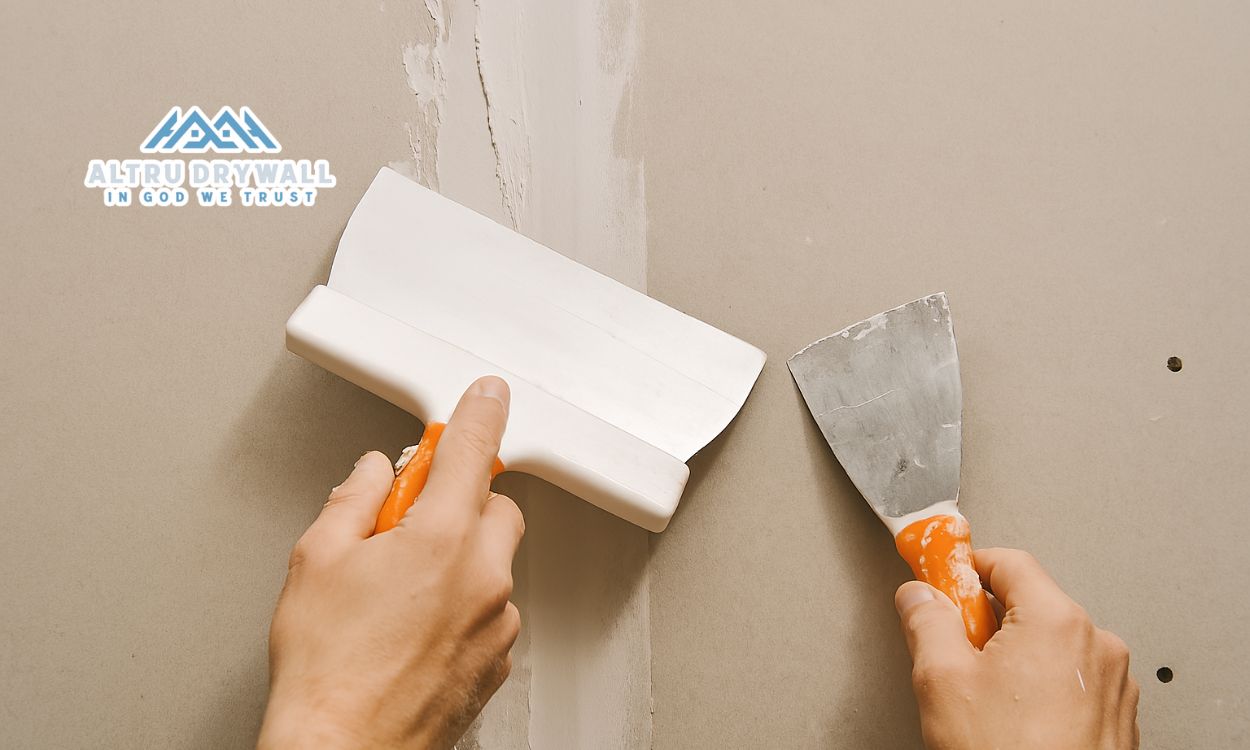
How to Tape and Mud Drywall
Taping and mudding drywall seams properly ensures a seamless finish:
Step 1: Apply Joint Compound
Spread a thin layer of joint compound over seams using a drywall knife. Ensure an even, consistent layer.
Step 2: Apply Joint Tape
Press drywall tape firmly over the compound-covered seams. Smooth out air bubbles using your drywall knife.
Step 3: Finish Drywall Seams
Apply additional thin layers of joint compound, gradually widening each layer to feather edges. Allow to dry completely between layers.
Step 4: Sand Smooth
Once dry, sand seams lightly until smooth, avoiding over-sanding.
Drywall Installation Time Estimate
Your drywall installation time depends on project size and experience. Typically, a beginner might need 1-2 days for an average-sized room, including hanging drywall, taping, mudding, and sanding.
Cost of Drywall Installation
While DIY can save you money, drywall installation typically costs between $1.50 and $3.50 per square foot, including materials and labor. Doing it yourself primarily saves labor costs but ensure you’re prepared for potential additional material expenses due to mistakes.
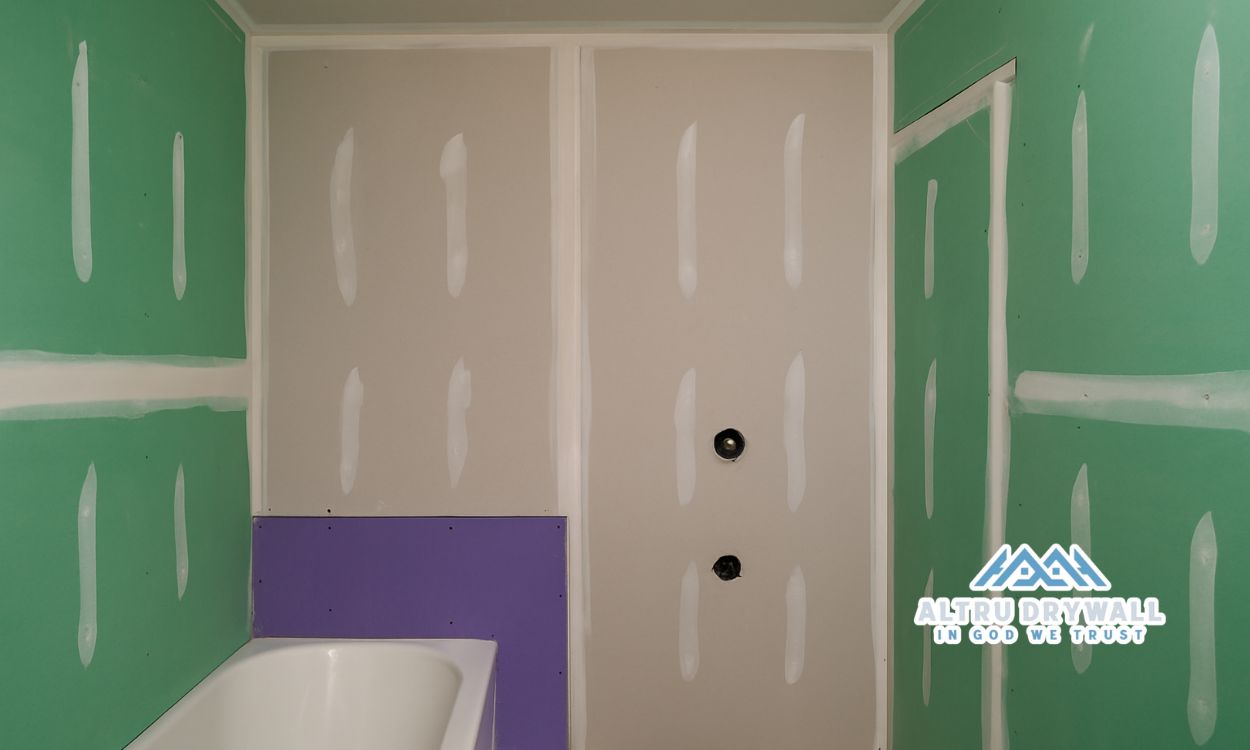
Best Drywall for Home Renovation
Select drywall based on your room’s purpose:
- Standard drywall: Ideal for most rooms.
- Moisture-resistant drywall: Best for kitchens and bathrooms.
- Fire-resistant drywall: Recommended for garages or near heating appliances.
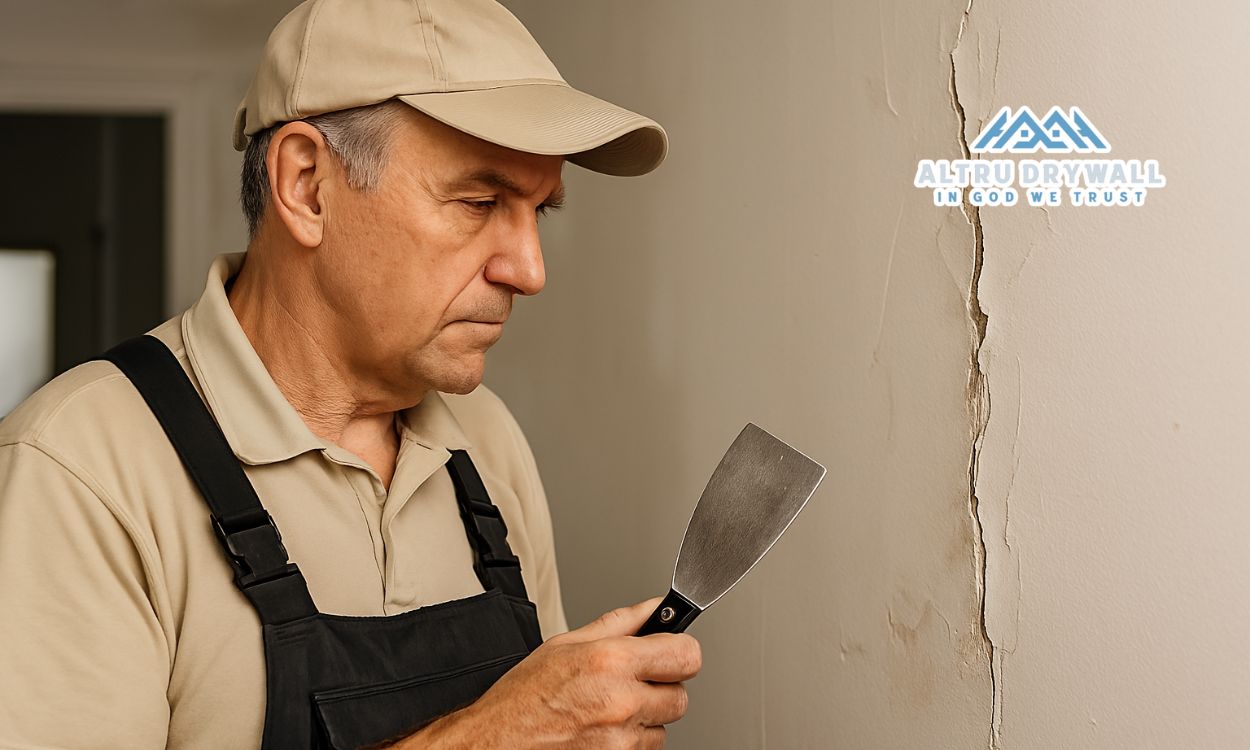
Why Consider Professional Drywall Installation?
If you feel overwhelmed or uncertain, professional installation can be a smart decision, ensuring a flawless finish. For reliable drywall repair and installation services, contact Altru Drywall today.
Conclusion: Ready to Start Your Drywall Project?
Following this Step-by-Step Guide to Drywall Installation for Beginners equips you with essential knowledge and confidence for your project. Remember to work patiently, carefully, and with proper tools. And if you ever need expert support or repairs, trust the professionals at Altru Drywall.