
Installing drywall can seem simple, but there are critical Sheetrock installation mistakes you must avoid to ensure a flawless, long-lasting finish. Whether you’re a beginner attempting your first DIY project or a homeowner overseeing a contractor, recognizing and preventing these errors is essential.
In this article, we’ll cover the most common drywall installation errors, from incorrect screw placement to taping issues, and show you how to install Sheetrock properly using professional techniques.
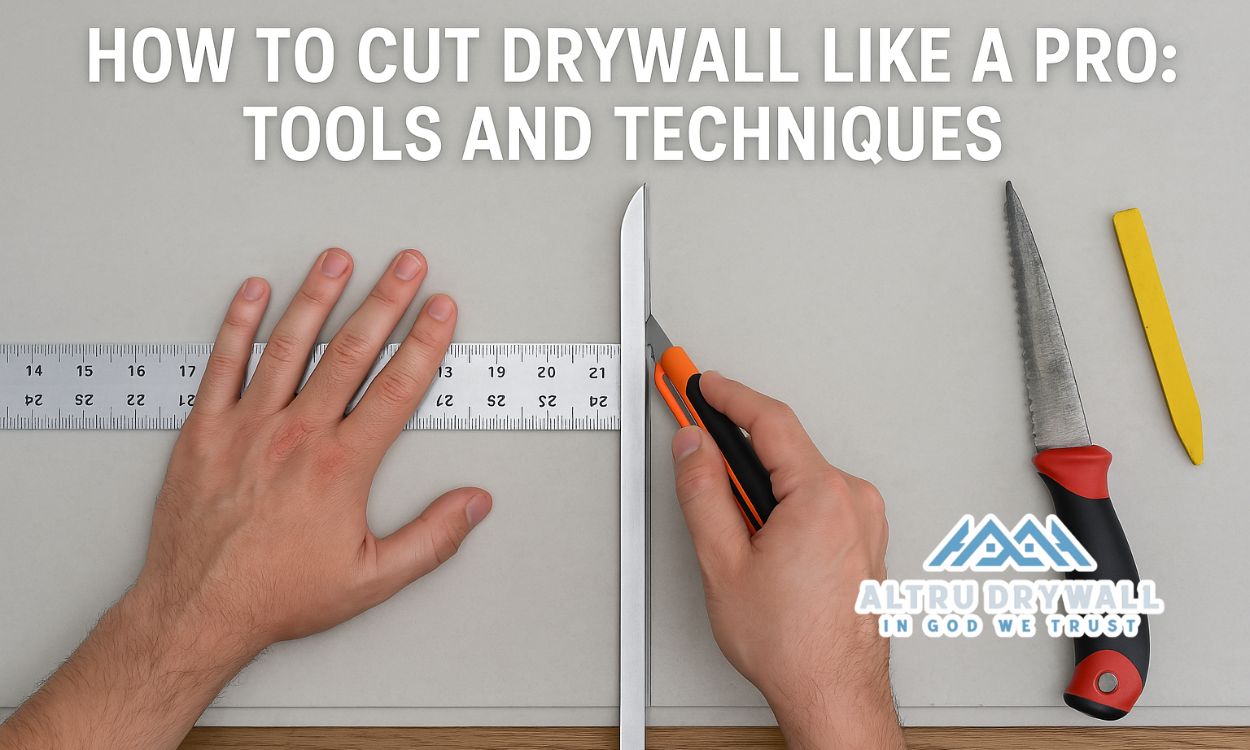
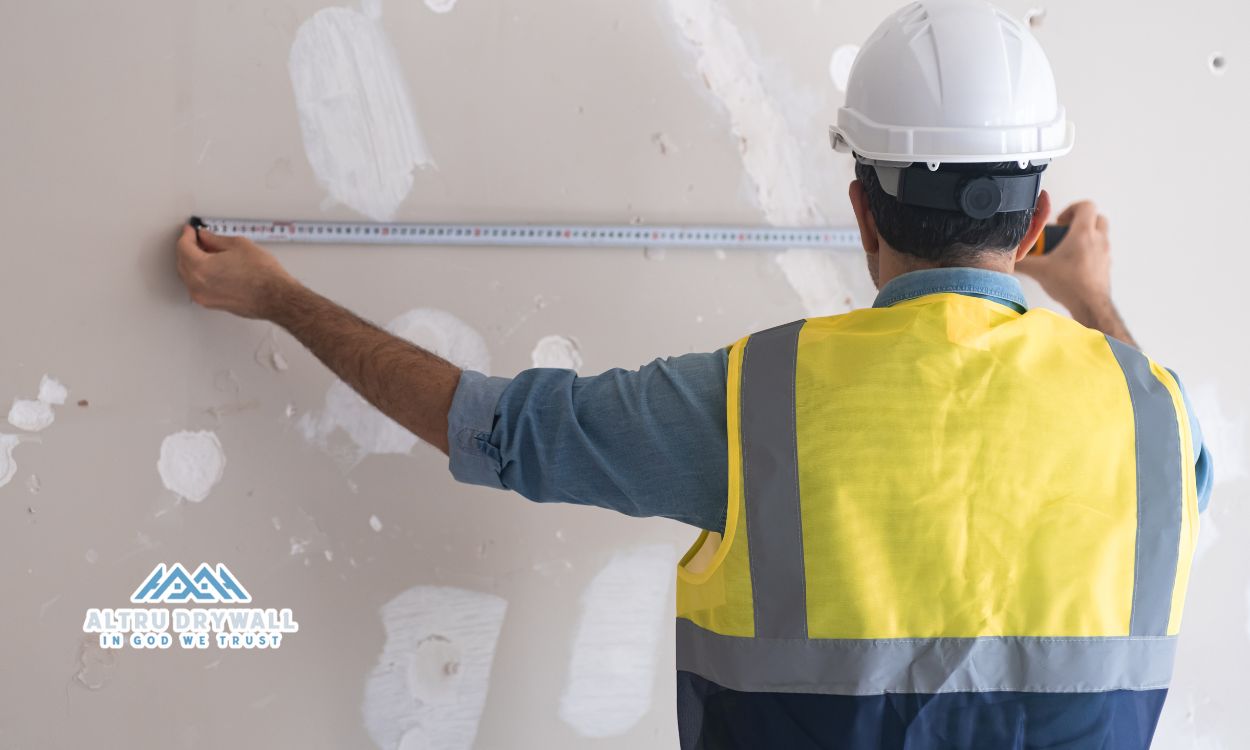
1. Poor Planning and Measurements
Every successful drywall project begins with proper planning. A common beginner mistake when hanging Sheetrock is failing to measure and cut precisely. This leads to:
- Waste of materials
- Uneven seams
- Larger gaps between panels
Drywall installation tips: Always measure twice before cutting and plan your panel layout before you begin. Position vertical seams over studs and stagger horizontal seams for better structural integrity.
2. Incorrect Screw Placement
One of the most frequent drywall screw placement mistakes is driving screws too deep, breaking the paper surface. This weakens the hold and can cause panels to loosen over time.
Pro tip: Use a drywall screw gun with an adjustable depth setting. Screws should dimple the surface slightly without tearing the paper. Spacing screws every 12″ on studs and every 8″ along edges helps secure panels properly.
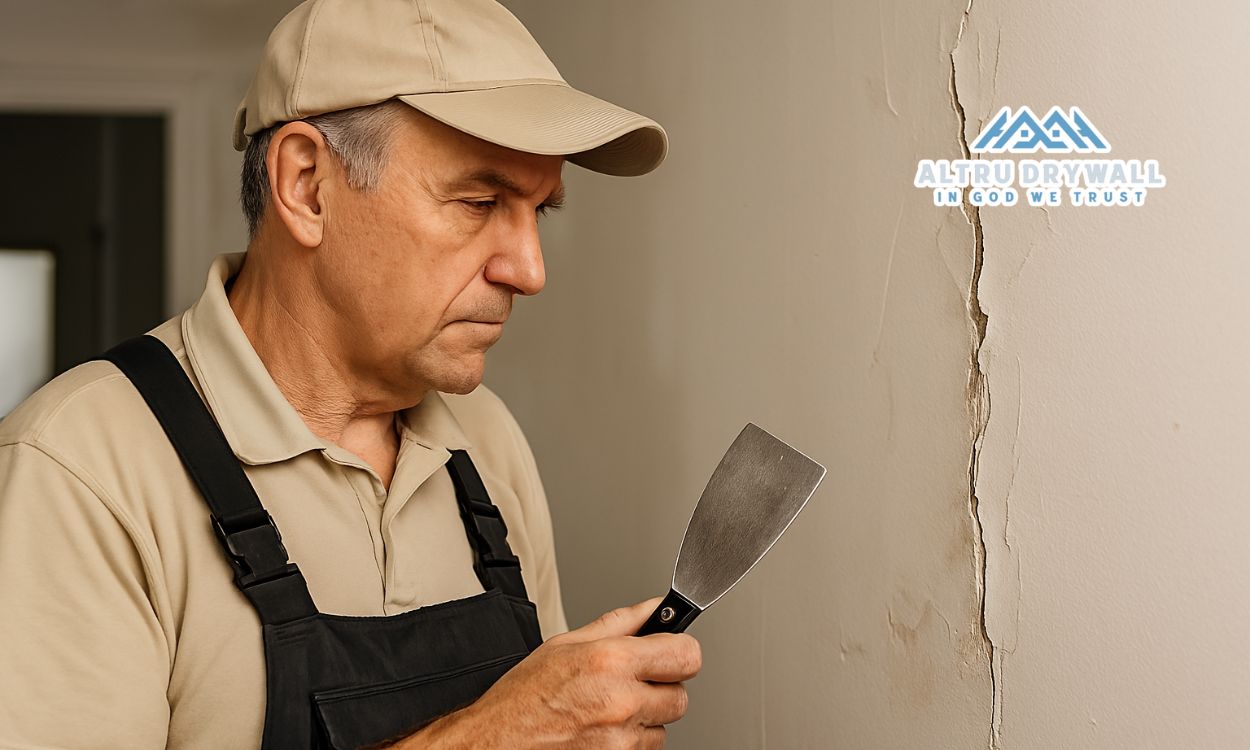
3. Leaving Gaps Between Panels
Improper fitting leads to hanging drywall gaps that are difficult to conceal. Gaps larger than 1/8″ require extra mudding and can crack after finishing.
How to install Sheetrock properly:
- Cut panels to fit snugly
- Use a rasp to shave down edges when needed
- Avoid forcing sheets into place as this can damage corners
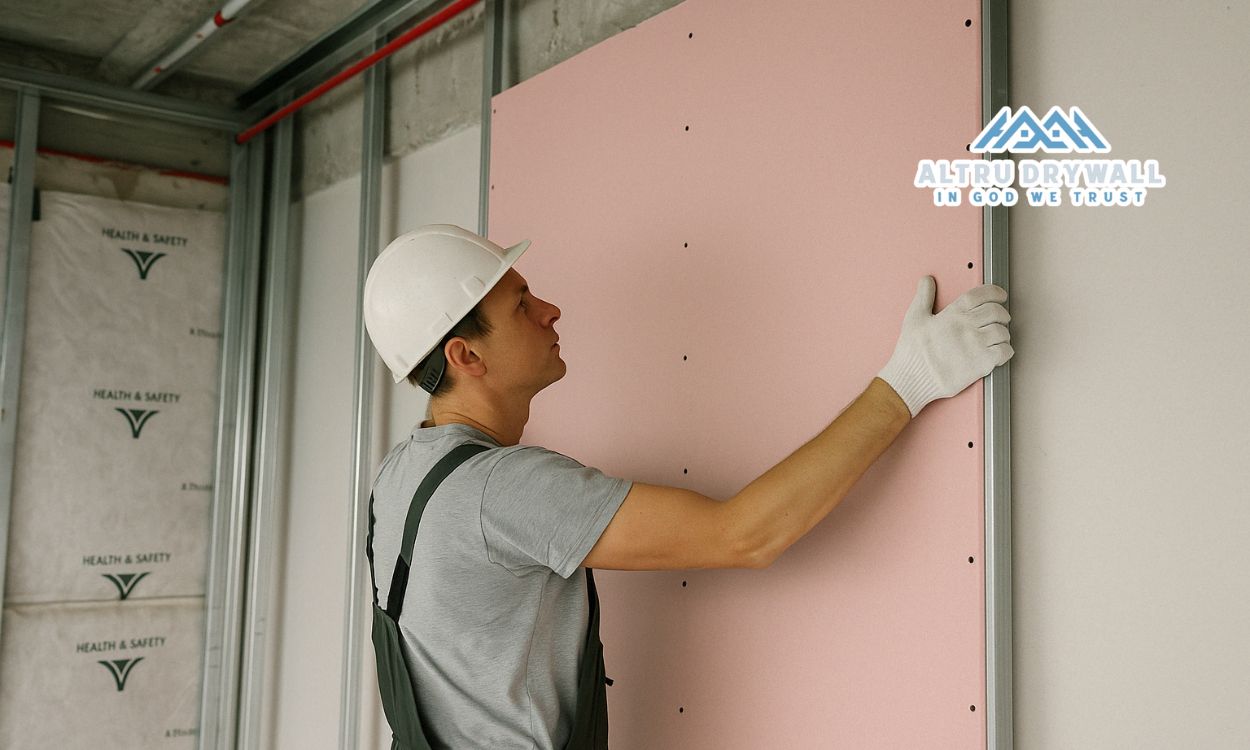
4. Not Using Backing for Seams
Installing drywall without proper backing at seams (especially between ceiling and wall transitions) results in weak joints prone to cracking.
Avoiding drywall seams and cracks:
- Use wood backing or furring strips
- Plan layout to land seams on framing
- Avoid floating seams in unsupported areas
5. Taping and Mudding Errors
Sheetrock taping and mudding issues are often the most visible mistakes:
- Bubbles in tape
- Uneven mud layers
- Sanding too much or too little
Drywall joint compound mistakes to avoid:
- Applying too much mud at once
- Using dry or stiff compound
- Not feathering edges of seams
Smooth drywall finish tips:
- Use a taping knife and apply compound in thin, even coats
- Allow proper drying time between coats
- Sand lightly between coats for a smooth finish
6. Rushing the Installation
Patience is key in achieving a professional finish. Rushing can result in:
- Misaligned panels
- Messy corners
- Inconsistent seams
If you’re following a DIY Sheetrock installation guide, allow yourself enough time for each step—from cutting to final sanding.
7. Ignoring Ceiling Installation Order
Always install ceiling panels before wall panels. This ensures a tighter ceiling-to-wall fit and prevents issues at the corners.
What not to do when installing Sheetrock:
- Hanging wall panels first
- Forgetting to account for ceiling joist spacing
- Skipping adhesive where required
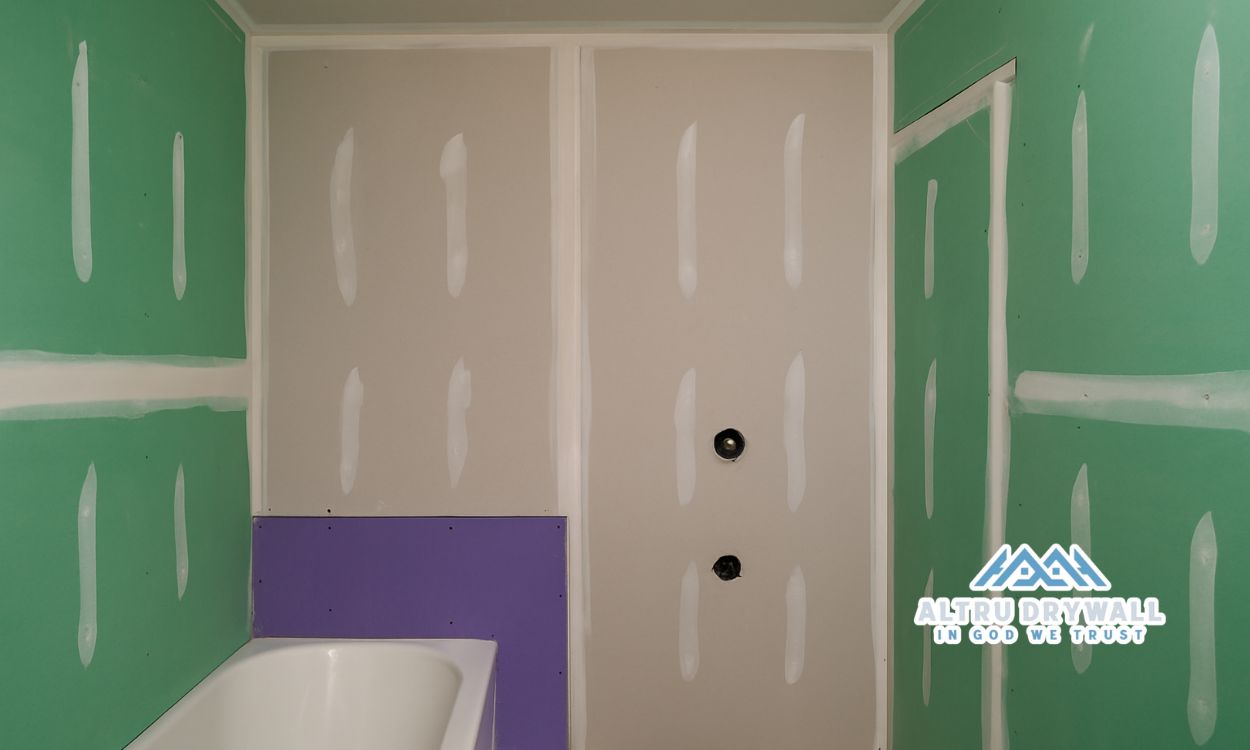
8. Skipping Moisture and Mold Considerations
Standard drywall isn’t suitable for high-moisture areas like bathrooms or basements.
Professional drywall techniques:
- Use mold-resistant drywall (green board or purple board)
- Ventilate the space properly
- Seal drywall edges with primer or joint sealer
9. Over-Sanding the Finish
While sanding is essential for a smooth finish, excessive sanding can:
- Remove too much compound
- Damage paper layers
- Create low spots that show after painting
Use a fine-grit sanding block or drywall sponge. Work slowly and check your progress regularly.
10. Not Priming Before Painting
Skipping the primer step is one of the final yet most critical Sheetrock installation mistakes. Raw drywall and joint compound absorb paint unevenly, causing blotchy finishes.
Drywall installation tips: Always apply a drywall primer to ensure an even, professional look when you paint.
Sheetrock Installation Done Right
Avoiding these Sheetrock installation mistakes is the first step to achieving a clean, seamless finish in your drywall project. If you’re unsure about tackling it yourself or want guaranteed results, consider working with professionals.
At Altru Drywall, we provide:
- Expert installation using professional drywall techniques
- Perfectly taped seams and clean finishes
- Mold-resistant drywall options
- Service throughout New Jersey
👉 Request a free estimate here
Final Thoughts
Whether you’re learning how to install Sheetrock properly or double-checking your contractor’s work, avoiding these errors can save you significant time and money. A flawless finish starts with planning and ends with careful taping and priming.
💡 Need help? Let Altru Drywall handle your drywall installation from start to finish.